1. Clean up the hard drive
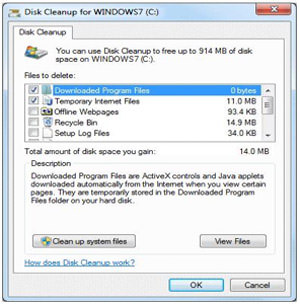
Remove unwanted files, like temp files, downloaded program files, recycle bin, etc. You could use Disk Cleanup option to do this, as follows:
- Click Start > All Programs > Accessories > System Tools > Disk Cleanup
- The system will first calculate how much space can be freed up this way. In the Disk Cleanup window (refer figure) that appears, select the files in that need to be deleted under the Files to delete list.
- For deleting ‘System Restore‘ and ‘Shadow copy‘ files, click "Clean up system files" and then on "More Options" tab
- Finally click OK. You’ll be prompted again before the deletion. Click Yes.
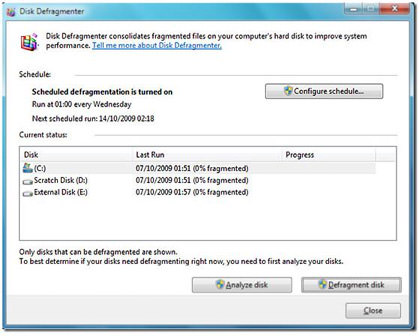
2. Perform Disk Defragmentation
When there is no sufficient space to store in a hard drive, the OS splits the file into parts and stores it in different areas on the hard drive. Defragmenting allows all these parts to be stored in contiguous memory locations. For defragmenting disk do the following:
- Click Start > All Programs > Accessories > System Tools > Disk Defragmenter
- In the window (refer figure) that appears, click on the drive that you want to defragment and then click Analyze disk.
- This will estimate the time required for the process. When done click on Defragment disk.
- Once done you can either View Report or click Close.
3: Disable unnecessary services
Not every system service that is running on a stock Windows 7 machine is necessary. A number of services can either be disabled or modified to run only when needed.
4: Reduce the number of startup items
Windows 7 systems eventually begin to suffer under the weight of software that is installed in the normal course of business. Many software titles install more than is necessary and include helper applications designed solely to make the software start up more quickly or facilitate other communication (e.g., iTunes helper). And new software installations might add a permanent presence to the system tray, even if it's not absolutely necessary for the system to function (Steam games, for example).
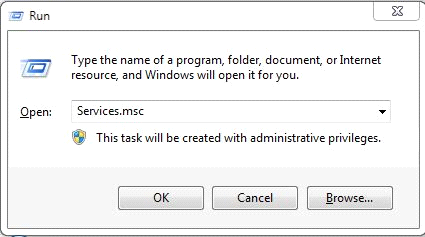
You could go through your system tool by tool and remove the offending software, but you might want to keep the underlying tool around and just prevent the helper from loading. This and more can be accomplished through the use of MSconfig, a tool that has long been a part of Windows. MSconfig allows you to selectively disable startup items and take other steps toward improving overall system performance.
To use MSconfig, go to Start and in the search box, type MSconfig. From the Startup tab (Figure A), you can disable items. Just be careful about what you choose.
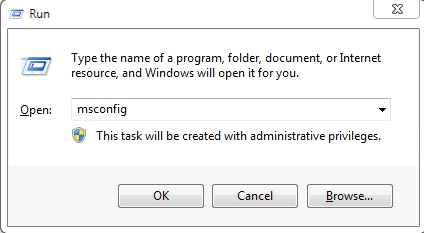
Figure A

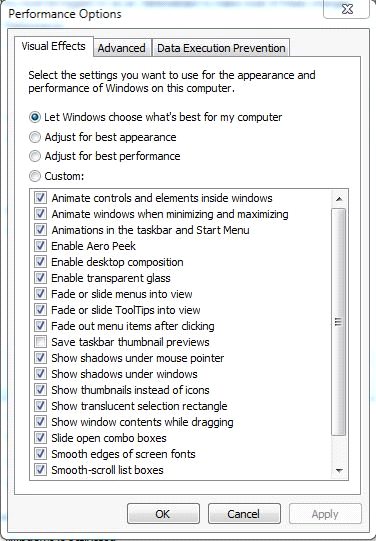
5. Disable unnecessary visual effects
As you may already know, Windows comes by default with some visual effects activated. Features like Windows Aero, shadows or thumbnails can be disabled to boost your computer’s performance. Right click “My Computer” and then select “Properties”. After the window opens, click the “Advanced system settings” button from the right side. You will then be prompted to the following screen:
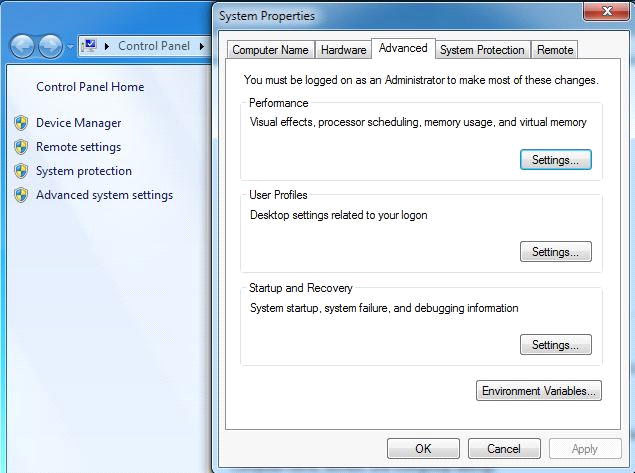
In the “Performance tab” click the “Settings” button. Next, select an option from the ones available. You can adjust your settings for “best performance”, “best appearance” or select the features that you want to activate one by one:

No comments:
Post a Comment